Thursday, 30 March 2017

A Few More Bits And Pieces

It's been quite a while since I posted as not much has happened since. I had been waiting on my auto elec to become available due to several projects he had on so in the meantime I spent a bit of time on fitting the roll bar. There is a fair bit of mucking around to get it to fit as the clearances are very tight and well engineered.

Before I could fit the roll bar I had to do a straightening job on it or should I say a spreading job. The lower section of the bar had closed in by about 12mm and wouldn't line up with the pre-cut holes. I had to enlist the help of a patented roll bar spreading tool.

Once the roll bar was at the right dimensions and fitted through the holes in the body, I fitted the lower roll bar brackets and positioned them in the correct location.

I found that I had to relieve the holes in the body quite considerably to allow the brackets to locate and to also allow the rear support bar to obtain the correct angle so it would align with the bracket in the boot. The tricky part of this is the gap that the rear support bar goes through is less than 1mm so the geometry has to be pretty well lined up, Pace certainly had a think about this.
When I was confident that the roll bar was in the right location I aligned the shear plates and applied packers where required then drilled and bolted the roll bar brackets in position.


One of the things I paid a lot of attention to is to make sure that the roll bar is easily removable and the tightening of the bolts doesn't sprag everything up. This is not an important issue but to me it is just good engineering.

I purchased a 13 row oil cooler to mount in the mouth of the Cobra purely because I reckon it looks good. When I started to fit the cooler it became apparent that I needed a much taller cooler to fill the opening that is there for this purpose. The reason I went for a 13 row cooler is because that is what the Cobra fraternity recommended. After a bit of research I found a 16 row unit that fitted the dimensions perfectly


With this new oil cooler, I used a standard aluminium 50x25 U channel for the lower mounting bracket and a top mounting plate and it worked a treat.

With the oil cooler bolted into position, I reckon it looks pretty good.

The oil cooler is non functional as I don't think it will be required but if it is, it' easy to connect. Here is the finished item.

One of the problems that I did have was the steering backlash that was proving very difficult to diagnose. I first thought the rack was defective as you couldn't feel the movement in the steering shaft. After a lot of messing around and being aware that the steering universals only had one lock screw which fixed onto the round part of the column and not the flats was a very bad idea, I removed the universals and drilled and tapped for an additional set screw that clamped onto the flats of the steering column. Once I had reassembled the column and tightened every thing up, I was staggered by the difference this made to the free play in the steering. I could not feel any movement prior but once I had clamped onto the flats, it was obvious where the movement was. I am a very happy camper.


Another little trick to remove play in the steering column was a bearing devised by Dave Stean in W.A. that fits into the steering column shroud and removes all side play in the column and centralises it all. Bloody great idea.

Another neat feature from Pace is the steering lock shroud, just finishes it all off. There is a bit of cutting and jigging around but it fits perfectly.

The original hole that Pace had provided where impossible to bolt to as you could not access the nut to fasten it so my mate Darryl came up with the captive nut system which solved all the problems.

Ok, my auto elec has called and is now free so lets get the Cobra over for final wiring of all the extremities like head lights, tail lights etc.

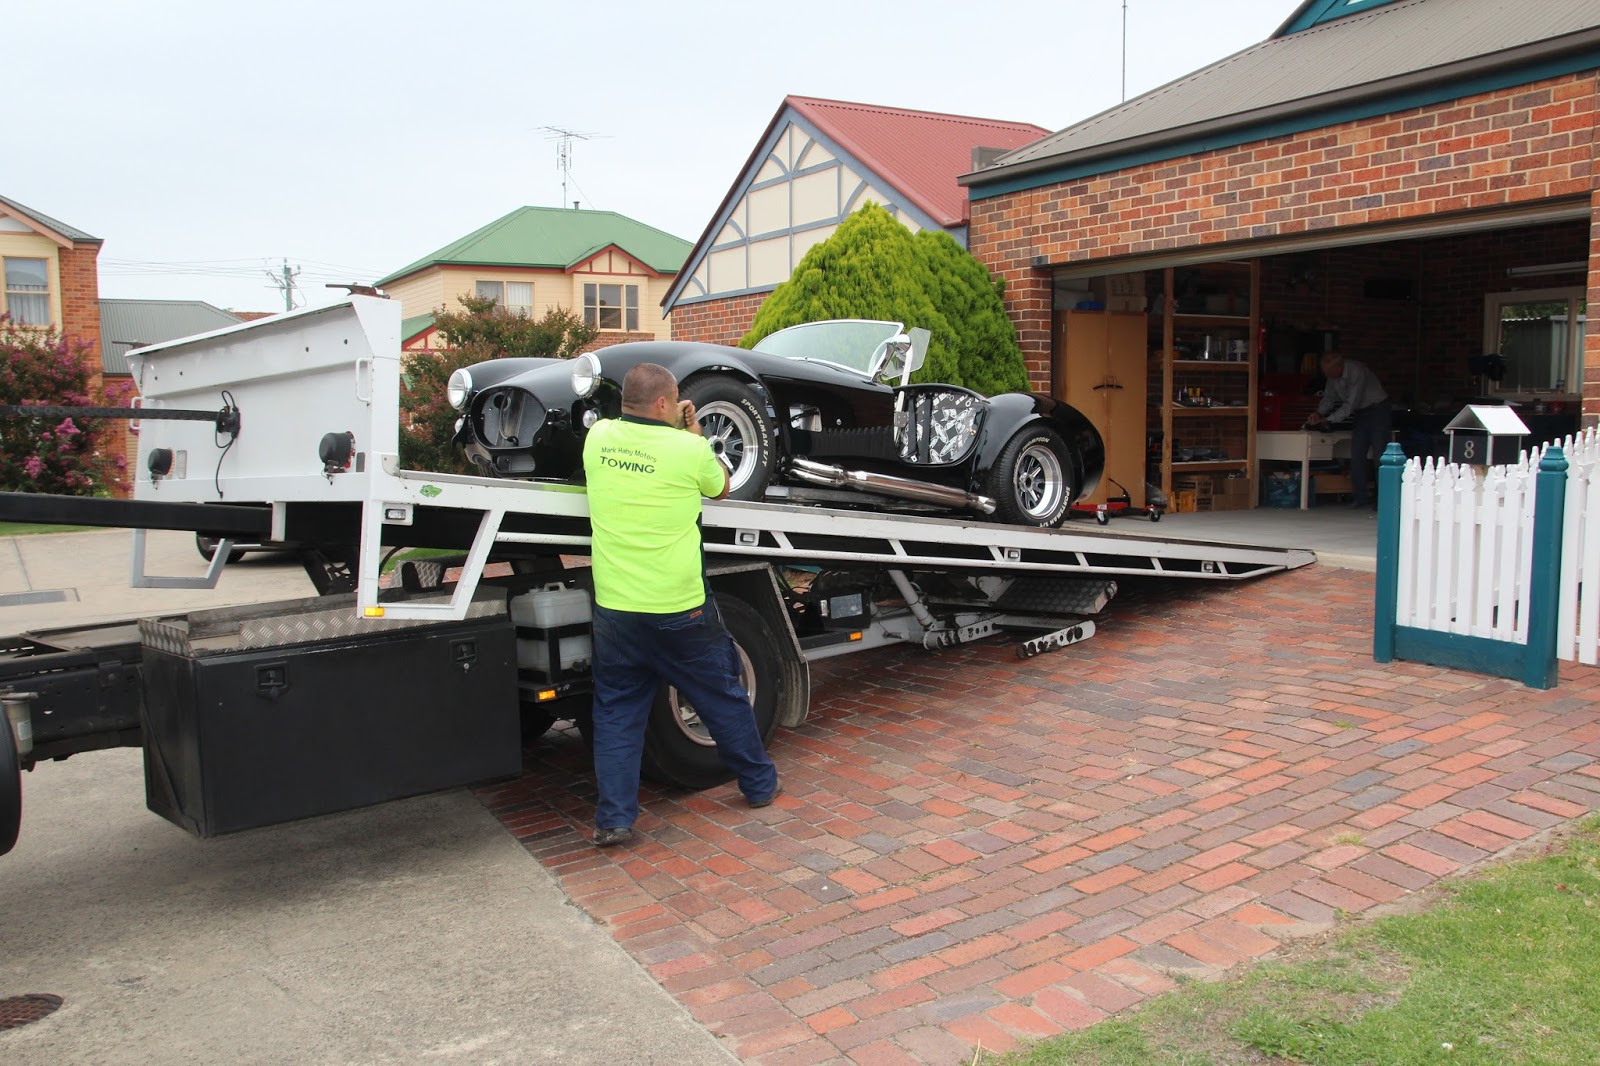
In an earlier post you will see a tilt tray trailer that I used to get my car to the elec but unfortunately that got stolen and I had to use a tilt tray truck which fitted the job after some very skillful driving in a small cul de sac.

In my next post, all things being equal, we should hear the patter of little Cobra feet or maybe the roar of a 5.0 Ford coyote. Damn, I can't wait. Hope I can put a 1st start video on this blog.

See you when the smoke clears,

Cheers Russell

Thursday, 17 November 2016

Finally on the floor

I am nearing the stage of lifting the Cobra of it's trestles now that I have no need to work under the car.
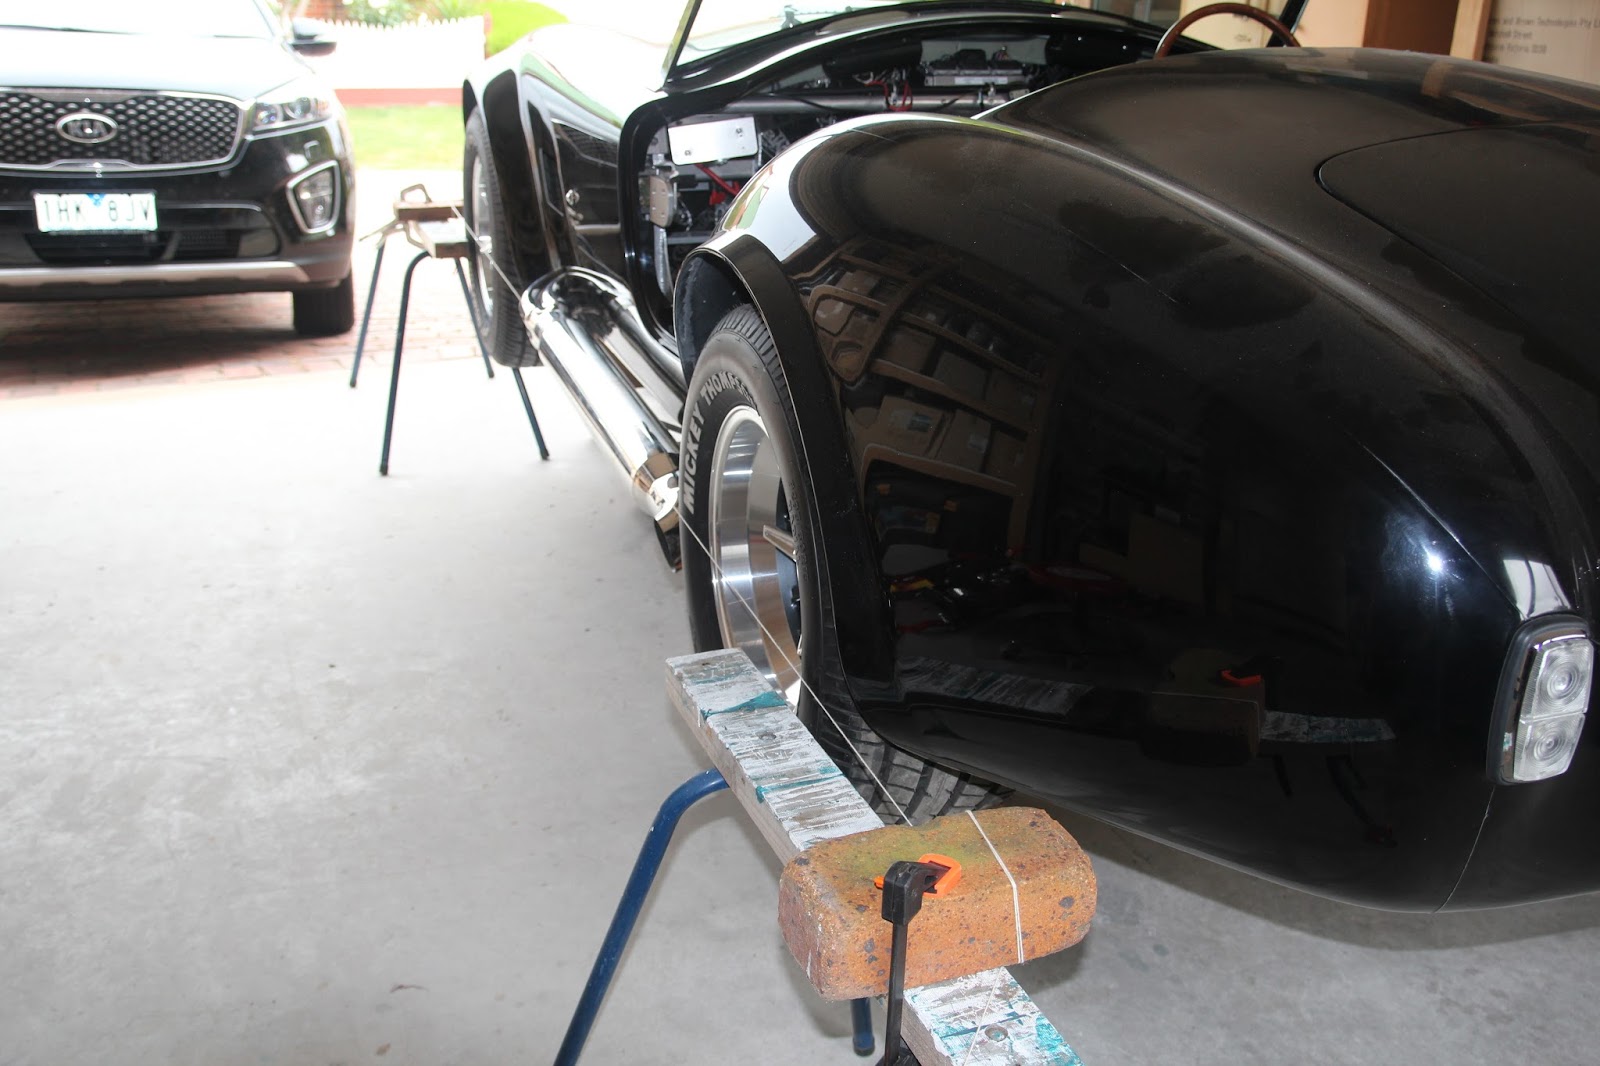
One of the things I noticed was that the wheels were pointing every which way so I had to fix that. To align the wheels I simple used a pair of saw horses, high tech house bricks and some brickies line. Before I did anything, I centered the steering wheel by turning it full lock to one side then counting the turns to the opposite lock. I then turned the wheel half way back and that is centre. I took the steering wheel off and recentered it so I could see if anything moved. As the pic below shows, the rear wheel was significantly out of alignment.

To set the string line in the correct position, it is just a matter of clamping something to hold the line taught while the checks are made. I used the saw horses because it gave me the right height and the string went under the flare on the front and rear guard, I still had the car in the trestles. The reason I used bricks is because it gave weight and the line wont slide around a brick but anything can be used as long as it holds the line tight. With the bricks, I just wrapped the line around the bricks then jammed it underneath.

When setting the line, I positioned it 1mm from any point of contact to avoid distorting the line. That is 1mm from the front and rear tyres. As I adjusted the toe in/toe out, I continually tapped the the line closer to the tyre as I went. If I was working on the back tyre, I would get the tyre parallel to the string and maintain the 1mm gap then do the same to the front tyre until I had it right then locked up the adjusting rods. It is a very simple way af aligning the wheels but is by no means a substitute for a proper alignment, purely a means of being able to drive the car without scrubbing tyres.

After the alignment, the car was lowered to the ground. I had initially set the push rods with the rod ends making full penetration into the push rods making sure that both ends were firmly seated. The reason for this is that the push rod has a right hand thread on one end and a left hand thread on the other. By starting with the push rod in it's shortest state allows for maximum adjustment and both rod ends still remain equal distance on both ends. Also with the push rods in the short configuration. it is easy to wind the rod ends out which extends the push rod length and raises the car.

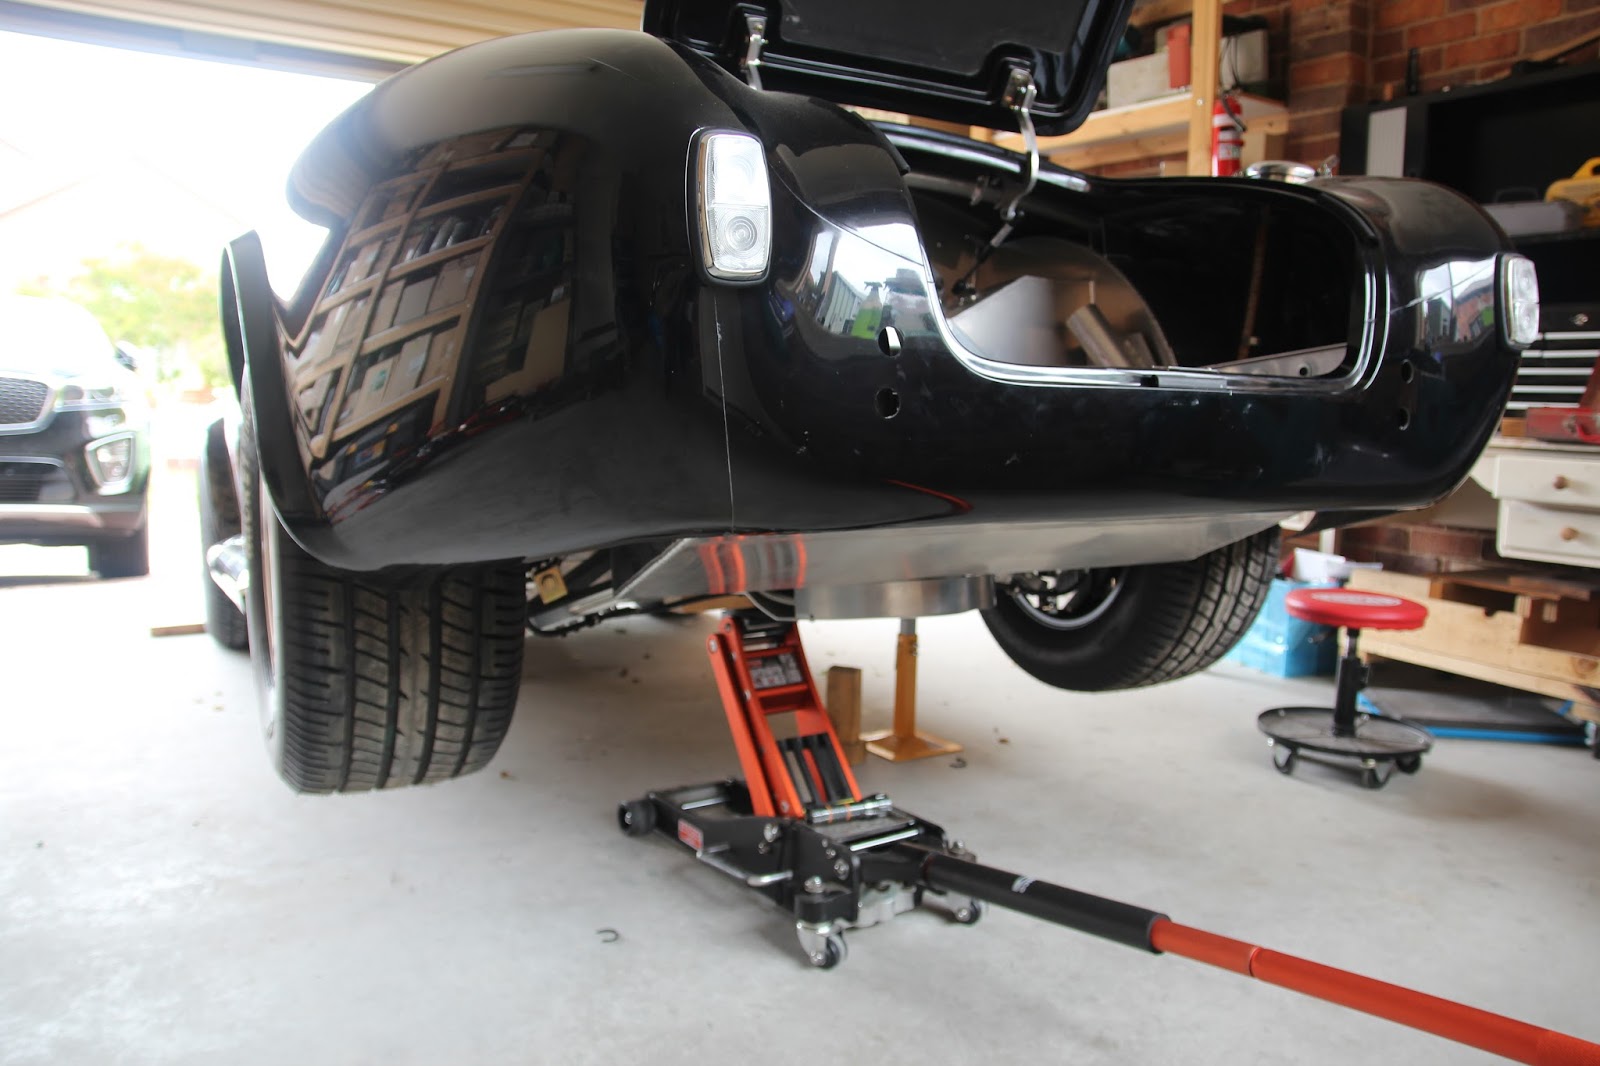
The down side to all this is the car came to rest on the jack which is a low profile unit so I had to block up the wheels with a piece 50mm timber. Once the jack was out I just jacked under the side on the recommended jacking points and pulled the blocks out and sat the car on the ground.

With the Cobra on the ground and a few minutes admiring the way it looked, I went around the car measuring from the floor to the lip on the mud guard and calculating the adjustments that needed to be made, I raised the car and made the predetermined pushrod adjustments. When adjusting the rods to lift the height of the car, the rods are easily turned by hand, not so easy to lower the car so hence winding the rod ends right in to start with. Don't forgt the lock nuts.

With my limited space in the garage, I put the Cobra on a set of car dolly's so I can move it around at will and also get my own car in the garage as well.

The upholstery is currently being done so when the dash comes back, we are off to the electrician again for final wiring and hopefully an engine start.

Until something else happens

Cheers

Russell

Tuesday, 15 November 2016

Side Pipes Setup.

With the catalytic converters fully welded and in place, it is time to do the final set up of the side pipes. At this stage, the pipes can be adjusted up and down where they come through the body and the gap between the pipes and body can be set. The gap between the pipes and body is initially adjusted by cutting the pipes to length. As I said in the previous post, the flange plate was a tight fit to the pipes so that made the adjustment easier. I might add that the adjustment of the amount of fall on the pipes can't be altered because that is governed by the flange plate on the cats merge collector and this is now fully welded. When I was confident that the pipes where right, I tacked the flange plates in position.

You will also notice a star shaped infill piece in the centre of the pipes. Without this, the exhaust gas would blow through gaps in the pipes. The way I made these was to take a piece of cardboard and place it over the area I needed to fill and taped with a hammer until it cut the form I required then just traced it onto a piece of 1.6mm mild steel sheet. After cutting the shape into a square, I just used a die grinder with a 1/2" rotary burr to cut the final shape until it was a tap fit in between the pipes

Once I was confident that all was as it should be, I set about making the hangers for the side pipes. This was particularly easy as the pipes, where I wanted to place the hanger was above the floor line so it was just a matter of an angle bracket running from the bottom of the pipe then forming a right angle and bolting to the inside of the under car exhaust tunnel.

As I don't have the capacity to make a right angle bracket (no engineers vice, only a woodworking one) I picked up a pair of 40mm x 5mm x200mm x 200mm shelf brackets from Mitre 10 and cut it to suit. The off cut formed the brace so it worked perfectly. The rubber donut insulator started life as a heavy duty door stopper where I just sliced 2 x 10mm sections through the base and using a hole punch, increased the hole to 7/16"

I was happy everything was right so I paid another visit to my friendly welding shop and the job was complete.

I had the pipes welded to the flanges on both side as the flanges were at and angle to the pipes so I needed as much grip as I could get. The welder did a mighty job and the dressing on the flange sealing faces was very minimal. This is haw they look in their finished state.

When I have the car going and am happy that all is legal. I will be having the entire exhaust system fine grit blasted and ceramic coated in a satin black or dark aluminium to reduce the heat. The additional holes in the shelf brackets will be filled with JB Weld at the ceramic coating process so that will cleann them up nicely. The price label will also be removed (look closely at the mounted bracket and you will see it.

My next post will be on getting the Cobra on the ground.

Cheers

Russell