In my last post I was talking about the pedal box installation and getting them in the right spot. Once I had the pedals located where I reckon they should be and the seats in the right position it was time to install the pedals more permanently with the pedal sealing box attached.
I run into quite a problem with this sealing box and the alignment between the pedal bracket and the firewall. When I cut the rectangular cut out in the firewall to accept the master cylinders which was roughly 200mm x 100mm, stresses that had built up during the welding process came out (as aluminium does) and caused the firewall around the cut out to concave into the cabin by about 10mm. This didn't seem to be a problem until I tried to align the pedal box seal. I tried to jack the firewall out but with my limited jacking equipment it was not successful. The next best thing was to mount the pedals and bolt them through the floor and trim the seal box to fit against the firewall, then using longer than normal screws, see if I can straighten the firewall out to suit the seal box. I had already elongated the mounting holes in the floor to allow for some movement as the assembly pulled together. The seal box is made from substantial 3mm folded aluminium and with the tightening of the bolts, managed to jack most of the convex out.
I did the final tightening of the floor bolts then changed the long bolts in the seal box for the correct ones and presto, the job was done....or was it.
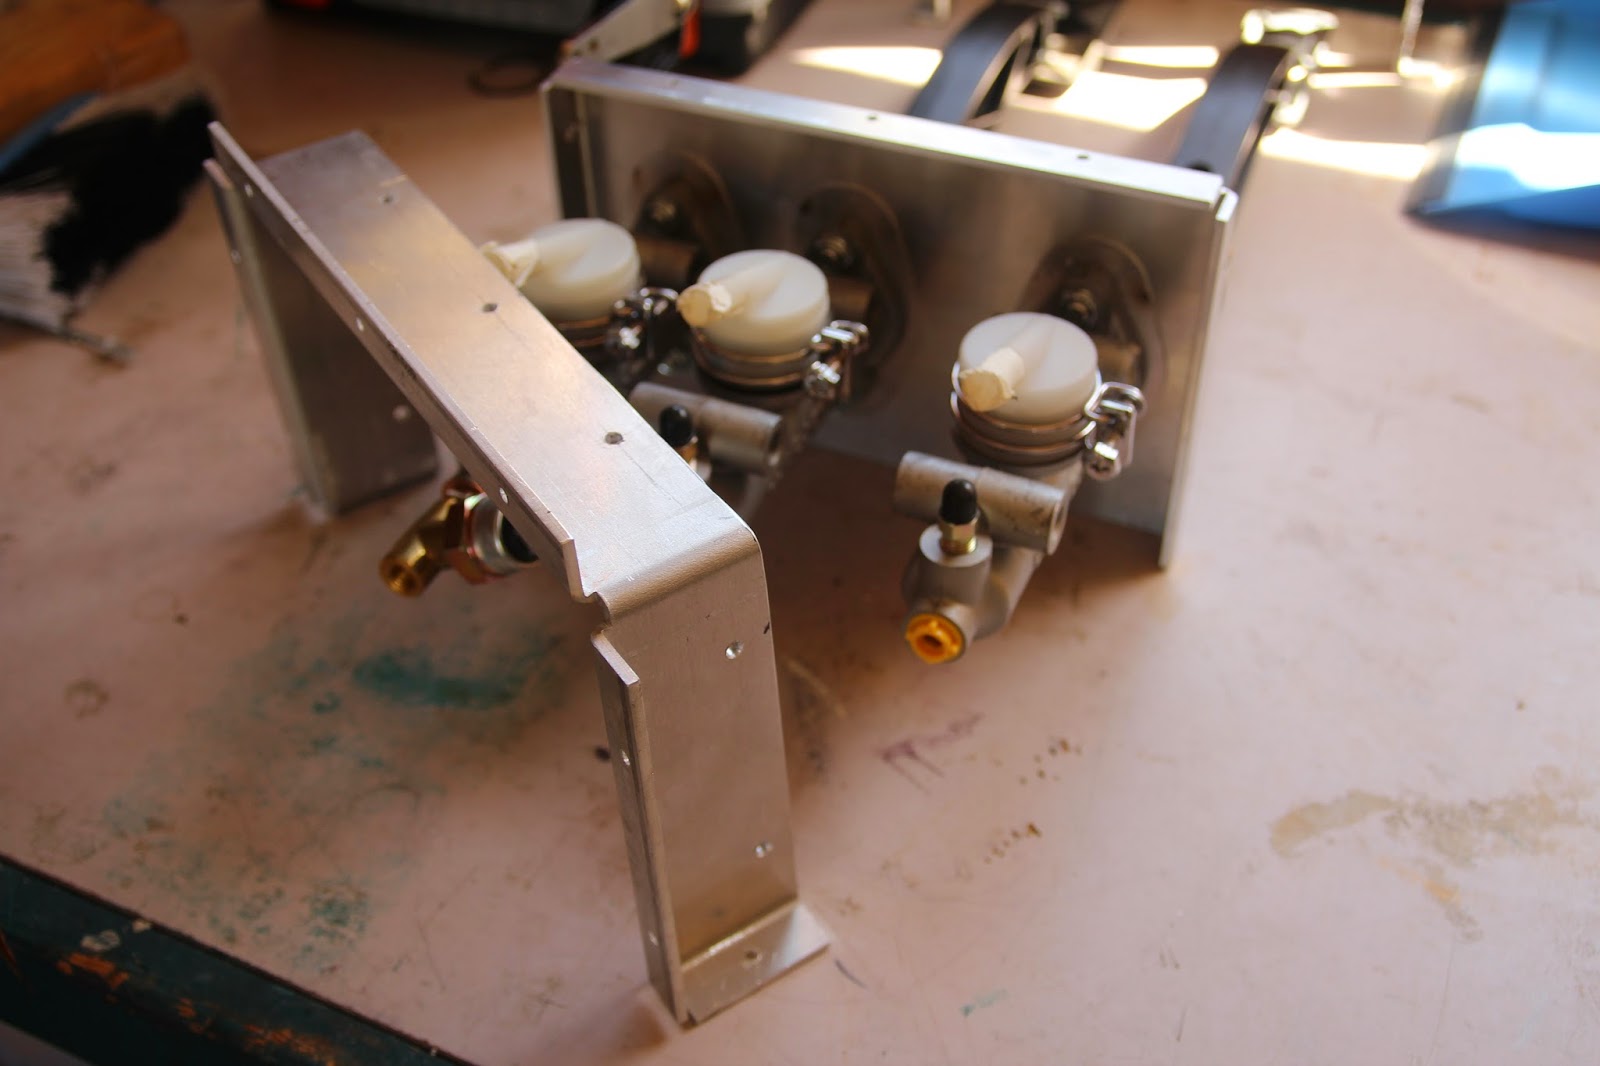
The photos below show the mounting of the seal box to the pedal assembly. The blind rivets in the seal box are only to keep the assembly aligned, they were replaced with 3/16 stainless bolts, nuts and washers.


The real fun started when the job was declared finished and I went to fit the brake and clutch lines to the master cylinder. I fitted up the lines and giving them a final tighten when I notices the outside master cylinder was up against the chassis rail. My immediate thought was that is should be ok. After all the work it took to get to this stage, the last thing I wanted was to pull it all out again. But me being just who I am could not let it go so I loosened all the firewall bolt of and noticed that the cylinder gained clearance from the chassis...well at least we knew where the problem lie. After hours of messing around and watching what effected the movement of the master cylinder, I was able to pack the floor mountings with some 1.5mm thick washers on top of the 6mm spacers already in place and tighten progressively until we maintained a 2mm gap between the master cylinder and chassis rail with out putting undue stress on the sealing box.
I reckon this pedal and seal assembly took about 12 hours to sort out.
Other small jobs that were done over the last month included the fitting of the battery carrier. The carrier is designed to fit in the passenger foot well under the dash and is constructed to allow the battery to be removed without completely disassembling the carrier. I modified my carrier to allow the use of bolts up from the bottom into welded nuts to the top section. This way you can use a powered driver to run the bolts instead of trying to undo nuts from the top in a very limited space.
I also installed the battery cut out switch, a 12V power socket and the windscreen wiper motor and drive.


Dynamat is supplied as a sound deadener and extra heat barrier which I laid through the main parts of the car such as foot wells, firewall, floor and rear bulk head. There are areas not covered such as the sills and rear wheel arch so I think I will get some cheaper stuff to do these areas.


I have just received advice this week that my engine, gearbox, clutch and all the other bits are due to land on 8 April so as soon as I receive the bits it will go straight in.
Until next post.
Cheers
Russell


 This was very straight forward and simply a matter of sitting the radiator and brackets in a position that allows the brackets to align with the side mounting panels and somewhat semetrical with the fresh air holes in the mounting panels.