Monday 6 November 2017

All The Fiddly Bits

I arranged to have the suspension aligned and to get the camber and caster correct. The steering was so heavy I could barely turn the wheel. Prior to the alignment I had to locate the front wheel central in the wheel arch, they were sitting back about 12mm and looked odd
These pics don't really show the change as well as I would like but that small amount made all the difference. The alignment helped with the steering making it quite pleasant to steer, still a little heavy but ok.
It was time to take the car on it's first test drive so I bought an Unregistered Vehicle Permit and took it out on the road being not very confidant with it as the brake were not bedded in and running temperatures had not been checked however, most things went well apart from a constant clunking in the back. These are some of the picks I took on the day.

When I got back home I investigated the clunking in the back and it turned out to be the shocks knocking together.
To solve this problem I made new brackets with the pivot pin hole moved out 5mm per side and with the bell cranks over centre the shock pull apart instead of colliding.
Just to be sure about the shocks, I places a plastigage on the adjusting knobs and took the car for a 30klm drive then came back home and the gage indicated no closing of the shocks. The orange blob on the shock is the plastigage.
The door seals were fitted at this time also and that stopped a lot of rattles and noise.
For what it's worth, fitting the seats is quite difficult as the bolt from under the car and are hard to line up with the holes. A little trick I did was to get two bolts 75mm long and cut the heads of them. These are then screwed into the seat frames and form guide pins that go right through the floor. Just fit the two clear bolts then remove the two pins and everything is alined, saves a lot of time.

I guess a service station will be a regular visit
for my Cobra.


Friday 27 October 2017

Heading Into The Home Straight Now

While I had the body panels off, I sent the side pipes away to be ceramic coated in a flat black. The reason for this is that I am not keen on polished stainless steel pipes as I am looking more to a Black Mamba look and also my earlier dilema about running live side pipes is the heat generated by stainless steel which can leave servere burns on the legs or for over excited children that may stand on them. The ceramic coating can reduce the temperature by 300°C. As at the time of writing this, I have had the Cobra driving for an hour and you can easily touch the pipes without a hint of burning. It will be interesting to see how they go at highway speeds for an hour.

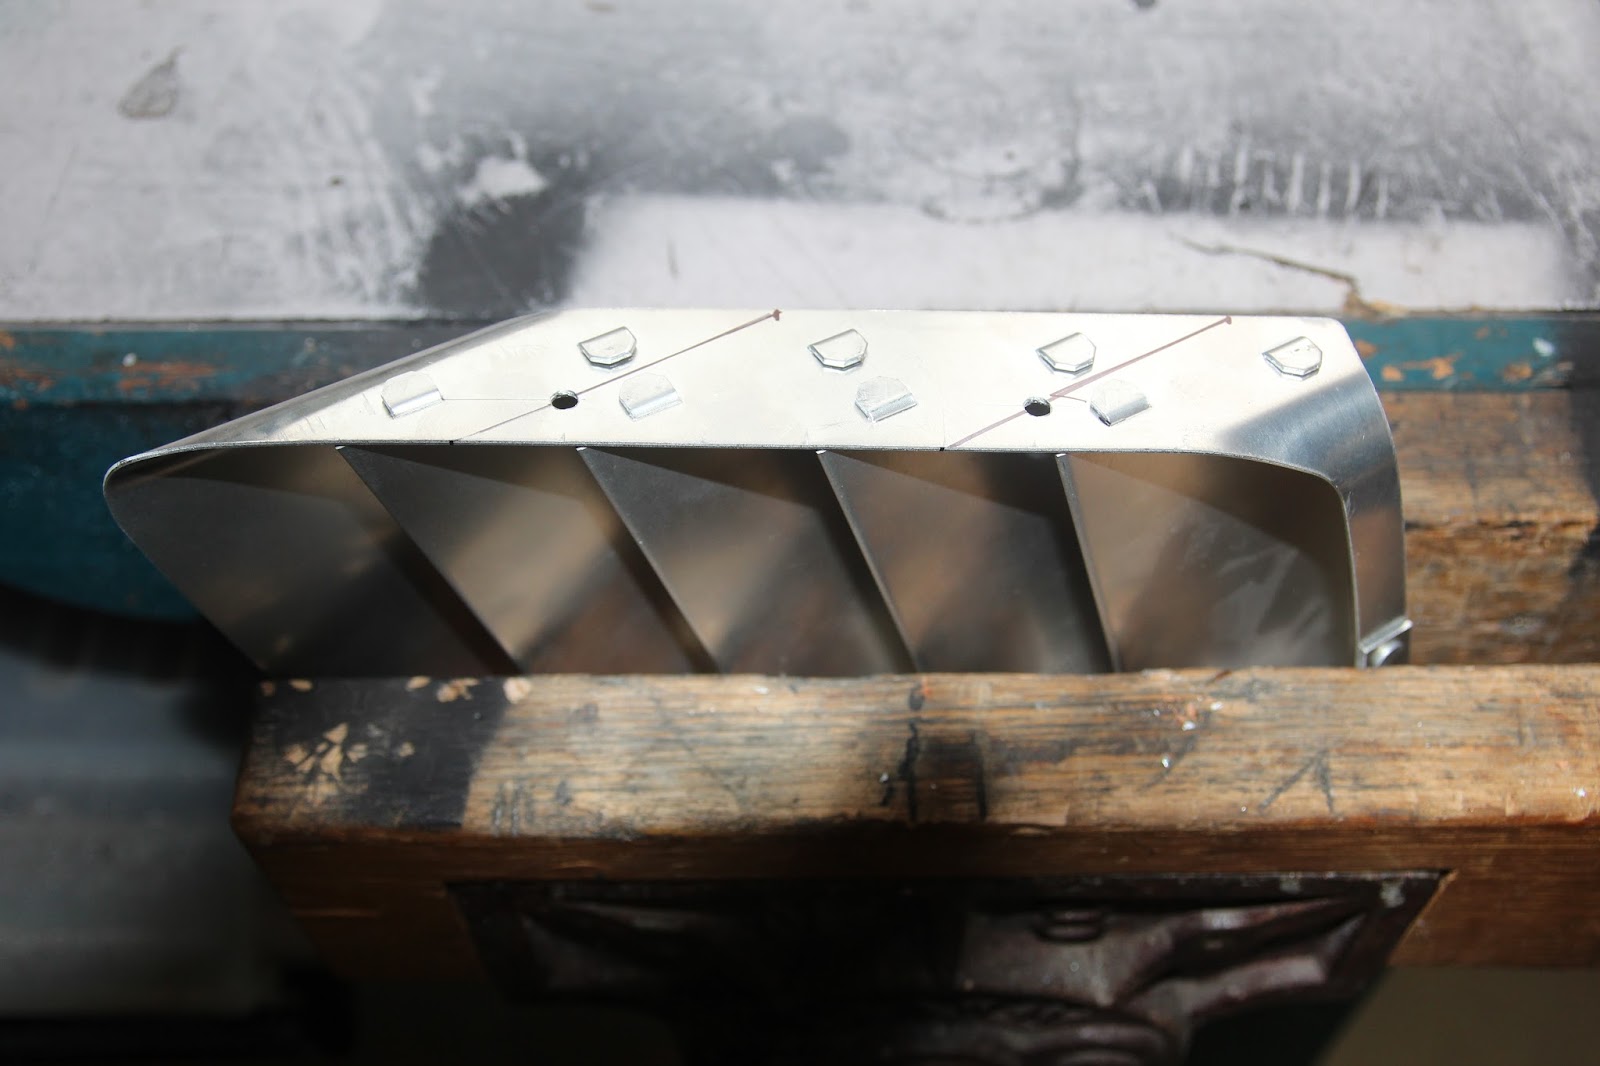
I also took this opportunity to set up the side vents and have them and the bonnet catches powder coated in satin black, these really came up a treat.
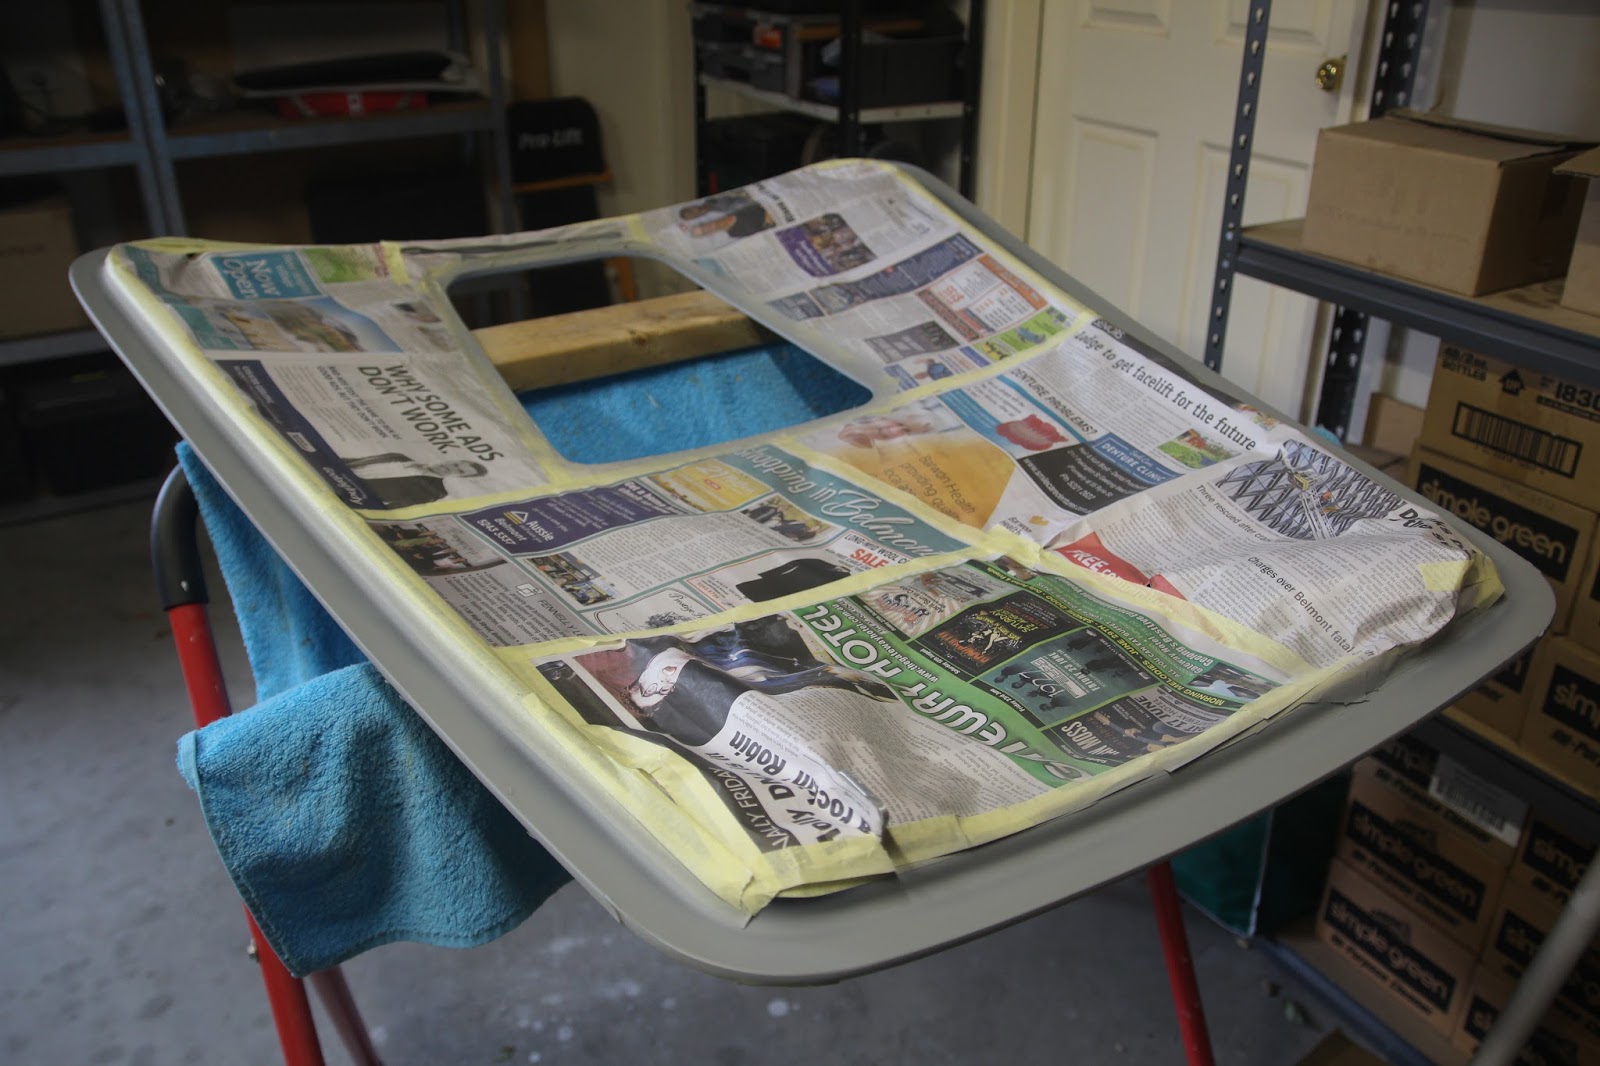
While the side vents were at the powder coaters I set about bonding the front body tabs and bolting them to the chassis
I also fitted the bonnet and catches
The powder coated catches also came up a treat

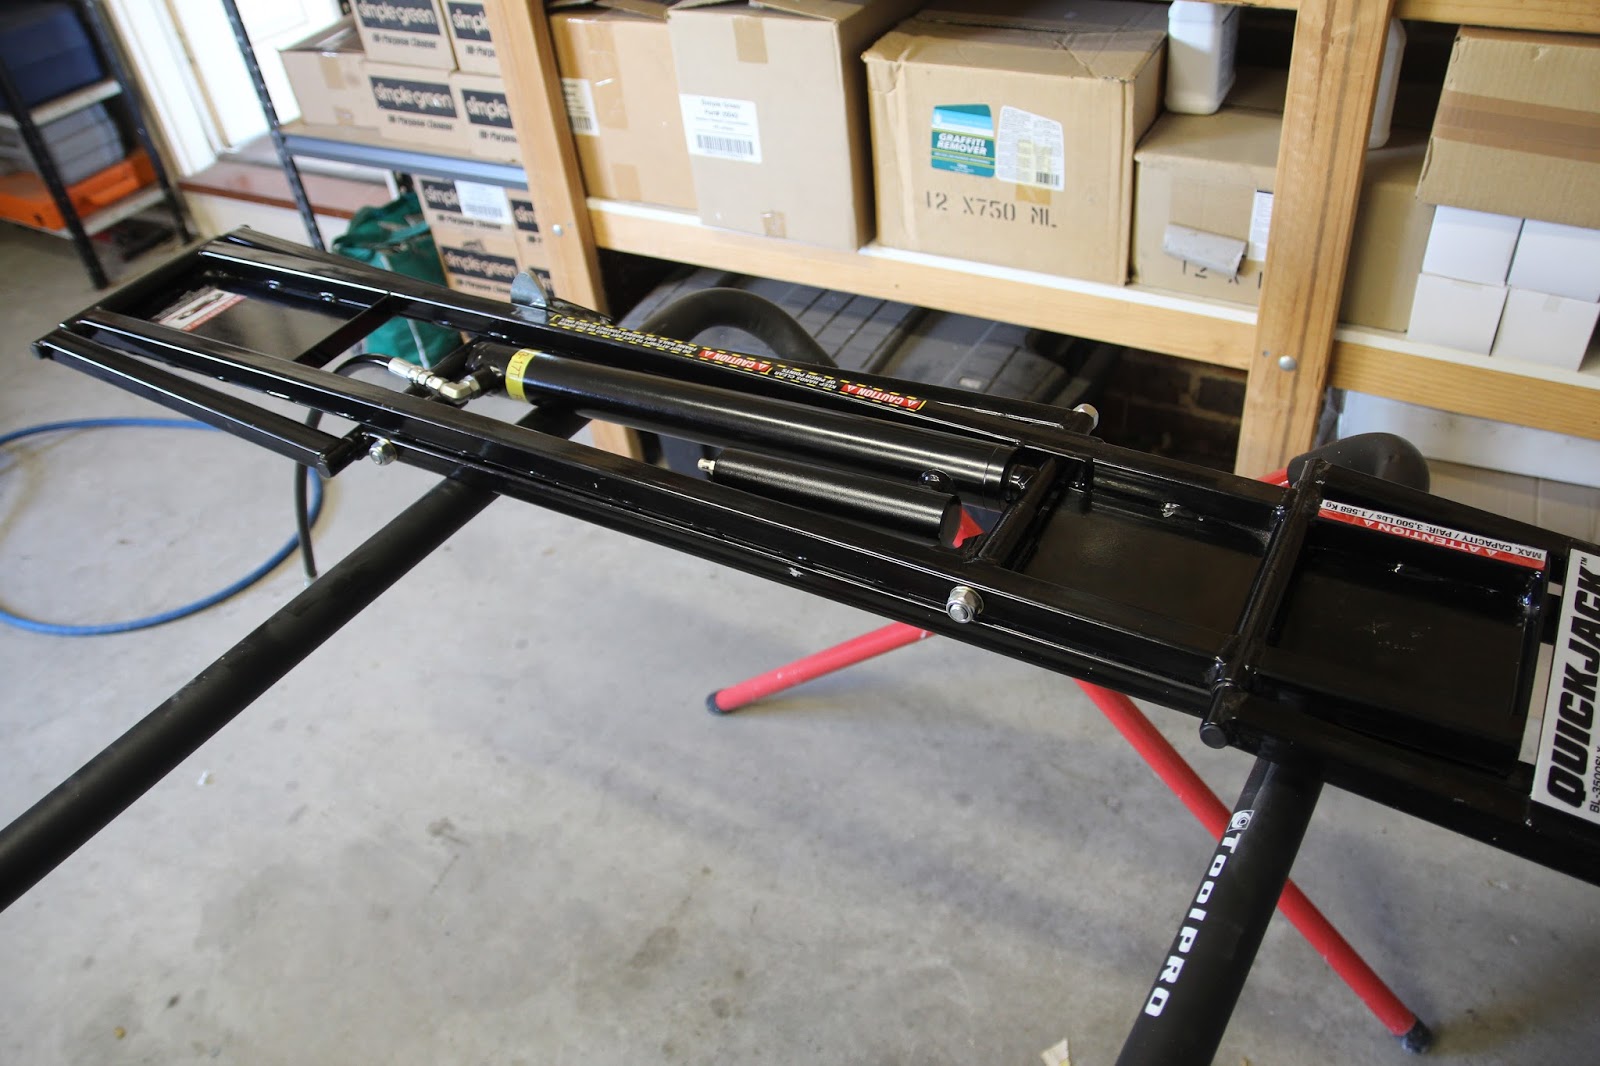
I went to use my quick jack system to raise the car and it would only jack on one side. After having a good look at the problem it was discovered that oil was bypassing the cylinder and flooding the air chamber. A couple of quick chats with the supplier and they sent a new ram and we were back in business.
Fitting the side vents was quite easy, Once the aluminium angle is bolted to the vents and you have ensured that the angle stands off from the vent edges about 0.020" allowing a gap for the adhesive to sit, thread a strong rubber band through the fins and place a piece of rod through the rubber bands. This rod is what holds everything in place so when the adhesive is applied, with the rubber band and rod in place fit the vent behind the cut out and thread the rod to the outside of the body. You have plenty of time to align the vent in the right position and lock the rod so it wont move then have a cup of tea.
I took this time to line the under guards with the rubber lining to stop the stones cracking the paint surface. This is a tedious job but has to be done.
Things are starting to look like a car now.
The door latch and hinge plastic covers took some messing around with but I got them to fit very neatly. I intend to make the covers from aluminium at a latter date and remove the plastic look.
A provision had been made for an infill below the door hinge but as I cut it incorrectly I had to improvise so I sat the infill a lot lower than intended and will run carpet over the entire area. The upholsterer has had a look and sees no problem doing it this way.
This will do for tonight so until next time,
Cheers Russell.

Wednesday 16 August 2017

Preparing The Body.

AOne thing about the Pace 427 body is it's "straight from the mould" condition. All the panels fit with the correct gaps so no real rework is required in this area and if you wanted to, you could run the gel coat as the final finish. In my previous post I showed pics of sanding out the seams which worked well.

The bonnet and doors needed some touch up on the glue lines between the inner and outer panels. Some filling and sanding was require to bring the joints to an acceptable finish.

I had a piece of body that had been cut out with the black gel coat on it so I took it to the local auto paint store and had the colour matched and might I say they got it spot on. I primed all the repairs including the side and vent areas and painted them in the matching black.

With the touch ups done, I started to polish the body and the more I got into it the more correction I had to do, no wonder painters charge a fortune, the hours required are staggering. This task still requires some work so I will post some pics when completed. It was about this time that I decided I will have the car painted professionally by Sime at Paintwerks in Moorabbin because the Cobra is just worth the extra TLC.

I have also installed the insulation under the bonnet and the scoop with a high heat resistant reflective fibre glass matting. Using the same Selleys 401 Industrial adhesive I used on the fire wall, I spread an ample layer of adhesive on the bonnet making sure that no thick patches were there as this can be seen in the matting. It takes a while to get it right and you have to work fast using a roller to push the adhesive around. I used a $2 Aldi pie edge decorator to push the matting into the edges of the bonnet, the edger has 2 decorative wheels and a blade type wheel that gave a nice sharp edge. Same with the scoop, I just forced the mat into the adhesive and trimmed the edges.

With the insulation in place, I finished off the edging with some rubber U channel which gave it a nice touch. The coffee cups were enough to hold the rubber in place while the adhesive dried.

That will do for tonight, I will have some more progress pick soon.

Cheers
Russell